Procedure
1. Start the activity using the menu path or transaction code.
|
|
2. As required, complete/review the following fields:
|
Field Name |
R/O/C |
Description |
|
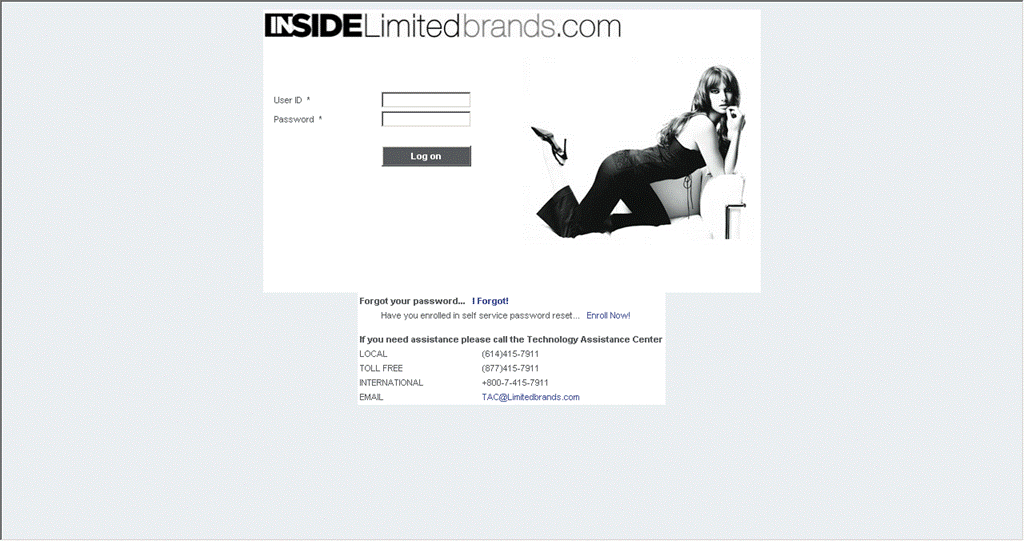
User ID * |
R |
Description of the User ID *. Example: Your Network Username |
|
Password * |
R |
Description of the Password *. Example: ***** |
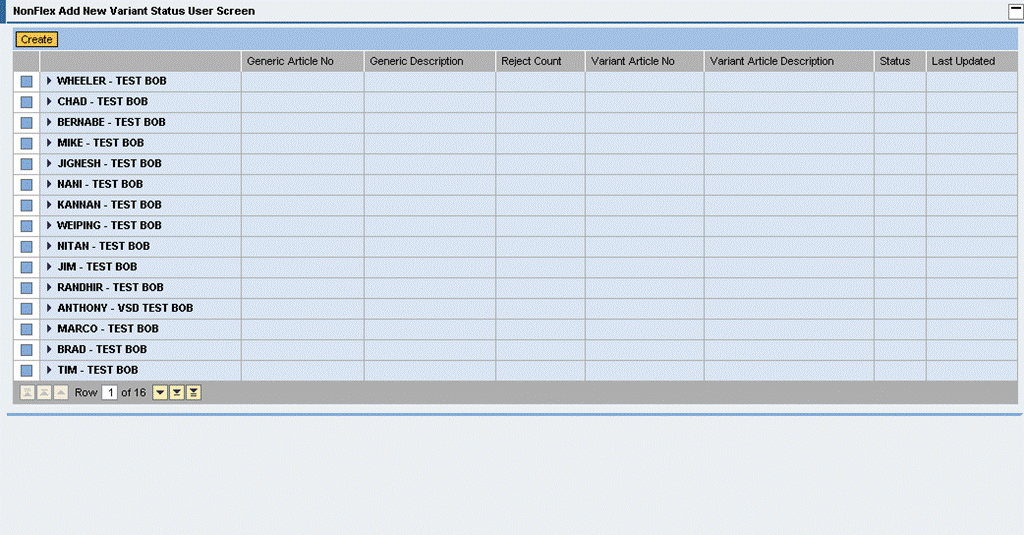
Create Generic Place Holder for Flex - SAP NetWeaver Portal
|
|
|
|
|
|
|
|

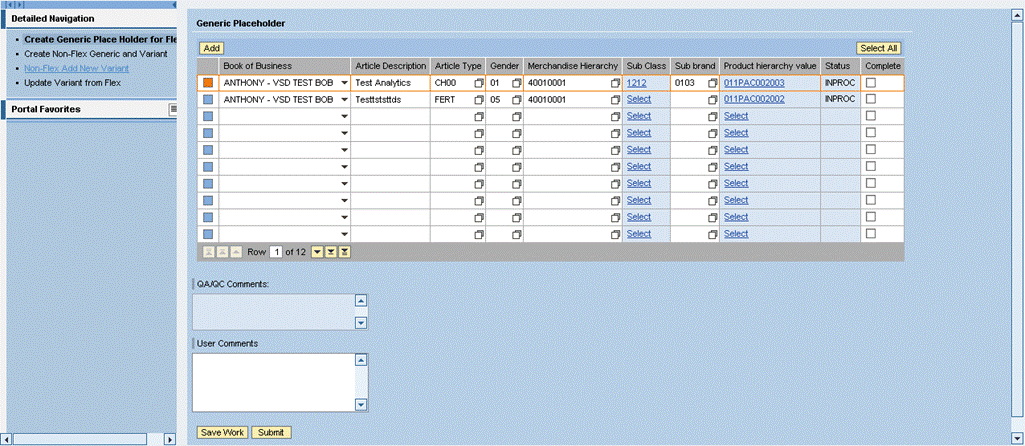
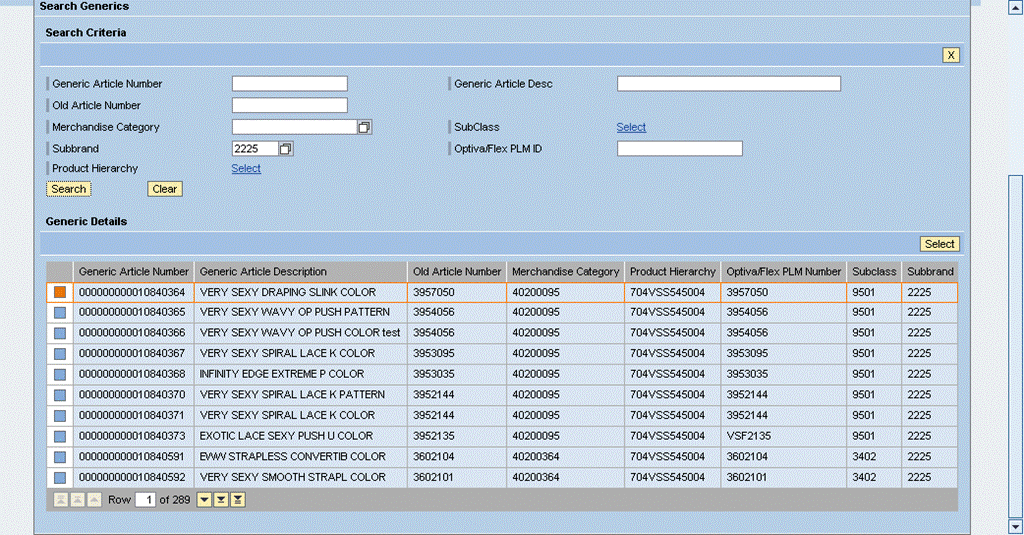
8. To find the generic article that you would like to add a variant use any of the search options. The following fields are available for searching: Generic Article Number, Old Article Number, Merchandise Category, Subbrand, Product Hierarchy, Article Description, SubClass, and Optiva/Flex PLM ID.
|
Field Name |
R/O/C |
Description |
|
Subbrand |
R |
Represents the brand name on a finished good/package. For un-branded product, the sub-brand will default to the brand name. For ICG products, the sub-brand will be populated with ICG. Example: 2225 |
|
|
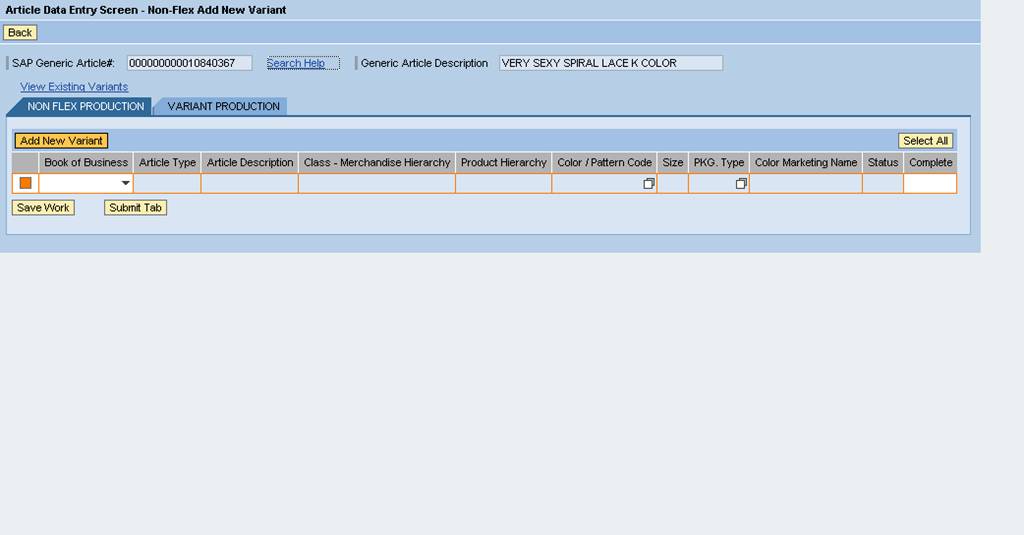
10. Click on the selection button ![]() of
the generic article number to be used
of
the generic article number to be used ![]() .
.
11. Click ![]() in the right hand corner.
in the right hand corner.
|
|
12. Click on ![]() to check and make sure that the
color/size/pack type combination has not already been created.
to check and make sure that the
color/size/pack type combination has not already been created.
|
|
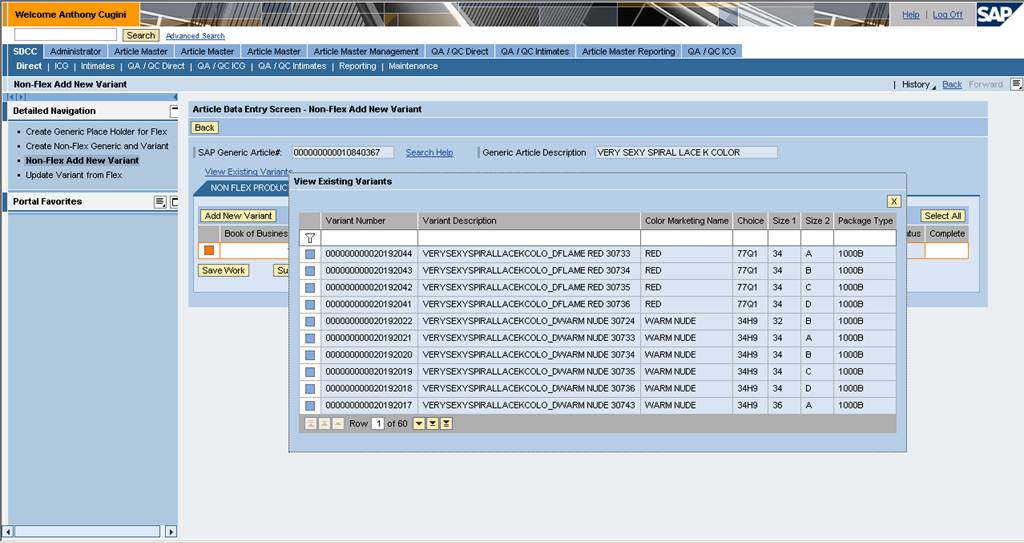
13. Click ![]() to close the View
Existing Variants window.
to close the View
Existing Variants window.
|
|
![]() Click the
Click the ![]() button for every variant that needs to be added.
button for every variant that needs to be added.
15. Select a Book of Business for each variant line:
|
Field Name |
R/O/C |
Description |
|
Book of Business |
R |
Users assign a book of business to the articles. Users may only see articles assigned to their book of business. Example: Very Sexy Bras |
|
Color / Pattern Code |
R |
Color / Pattern Code of the variant article. Example: 00A2 |
16. Click on the ![]() to search for a
Color / Pattern Code and repeat for every variant.
to search for a
Color / Pattern Code and repeat for every variant.
|
|
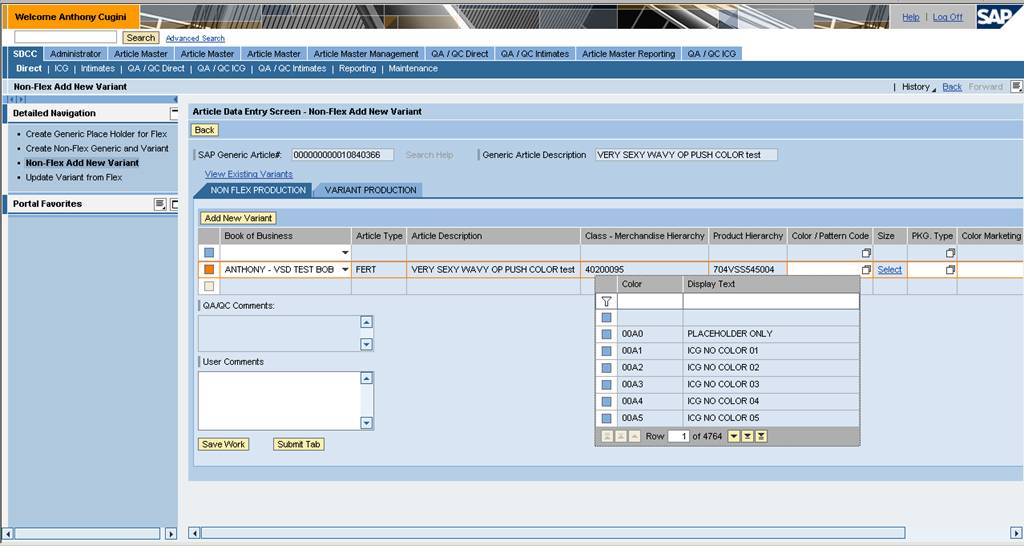
![]() This window can be used to search for
possible entries by typing in the known text or data in the Display Text
field and then clicking the Filter
This window can be used to search for
possible entries by typing in the known text or data in the Display Text
field and then clicking the Filter ![]() button.
button.
The arrows ![]() at the bottom of
the window can also be used to scroll through the available choices.
at the bottom of
the window can also be used to scroll through the available choices.
18. Click on the ![]() link in the Size
field.
link in the Size
field.
|
|
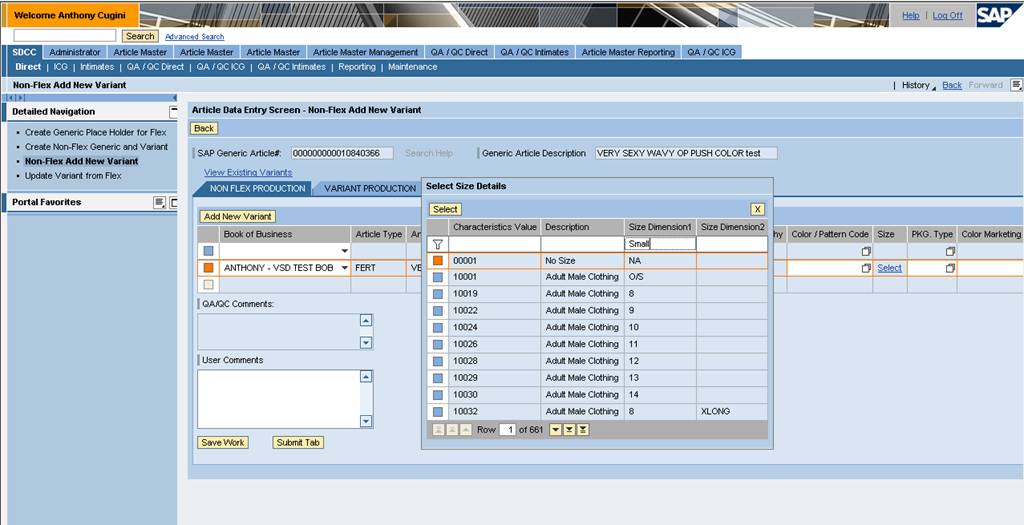
19. To search for a particular size use the search fields in the Select Size Details window:
|
Field Name |
R/O/C |
Description |
|
Size Dimension |
R |
Size code of the variant articles. Example: Small |
21. Click the ![]() button next to the
desired size.
button next to the
desired size.
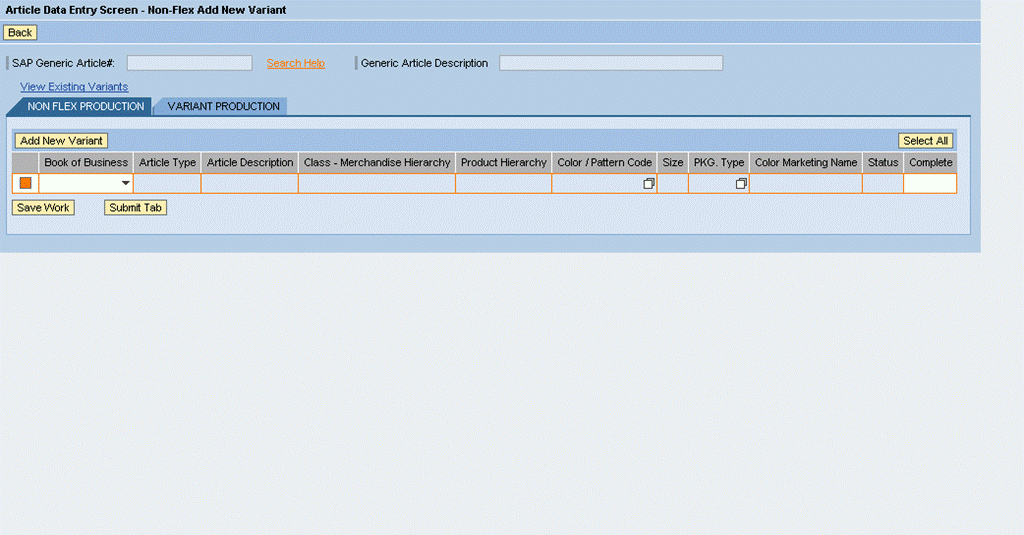
22. As required, complete/review the following fields:
|
Field Name |
R/O/C |
Description |
|
PKG. Type |
R |
1000A is used for shelf, 1000B is used for direct Example: 1000B |
|
Color Marketing Name |
R |
Description of the color that will appear on the purchase order. Example: Blue dark |
23. Select the Complete checkbox ![]() .
.
|
|
![]() Please note that for VSS there will also be
a Variant Logistics, Variant Planning A and Variant Planning B tab that
needs to be completed as well.
Please note that for VSS there will also be
a Variant Logistics, Variant Planning A and Variant Planning B tab that
needs to be completed as well.
26. Click on the Product Hierarchy number if it needs to be changed.
|
|
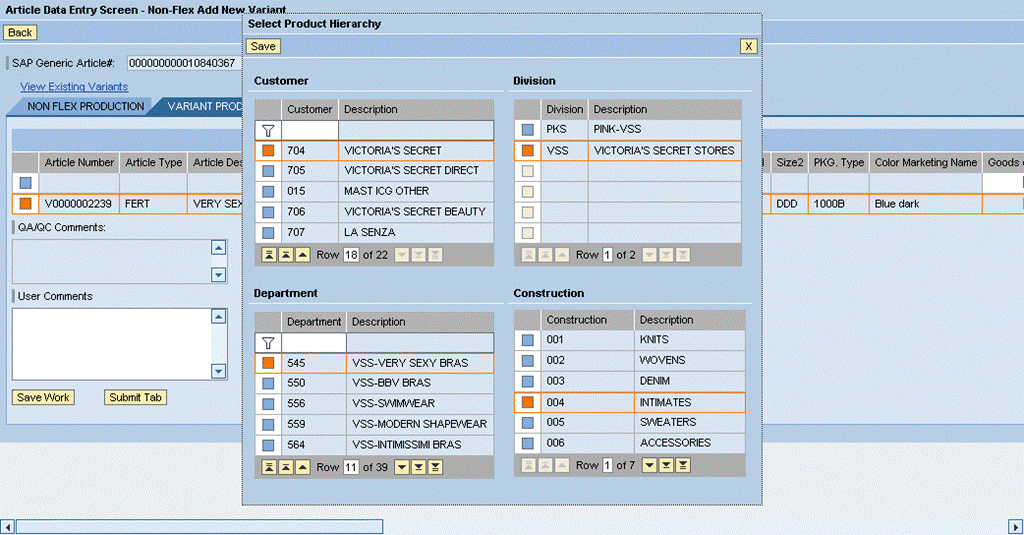
![]() In this example, the Product Hierarchy is
not changed.
In this example, the Product Hierarchy is
not changed.
27. Click ![]() to close the Select
Product Hierarchy window.
to close the Select
Product Hierarchy window.
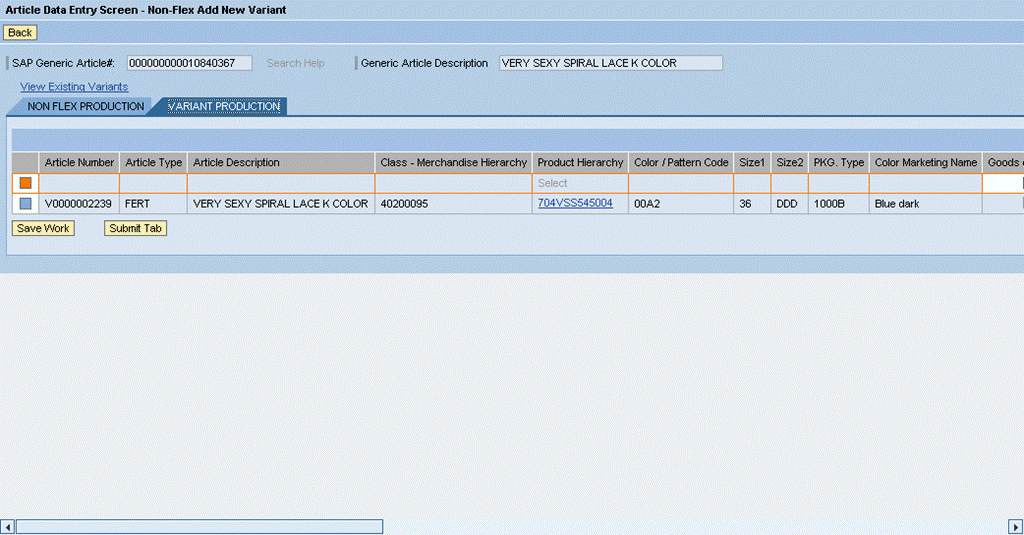
28. Scroll to the right to view the first field that requires an update.
|
|
29. As required, complete/review the following fields for each variant article.
|
Field Name |
R/O/C |
Description |
|
Customer Style ID/ SKU |
R |
The customer style is the number that defines the style in legacy applications or the number used by our ICG customers. Example: 2321025 |
|
Customer Style ID/ SKU |
|
Defines the sku used by legacy applications or our ICG customers to reference the variant article Example: 0007801290 |
|
MAST SPIRIT ID |
R |
Defines the style number used in SPIRIT. This field will need to be entered until SPIRIT is no longer used. Example: 431953 |
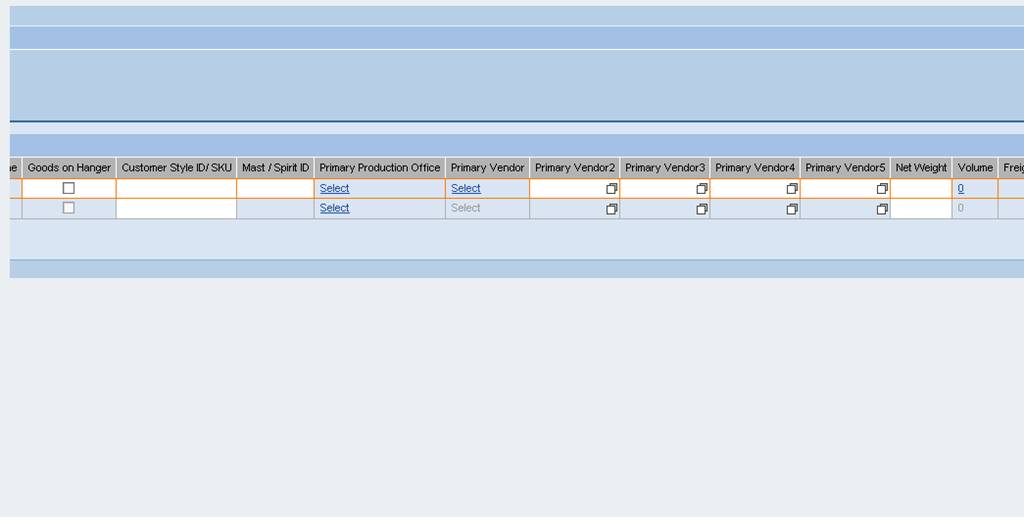
30. Click ![]() in the first Primary
Production Office field.
in the first Primary
Production Office field.
|
|
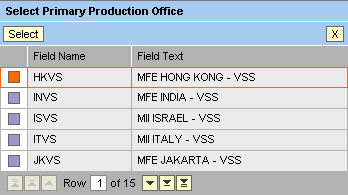
31. Click ![]() next to the production office
where the article will be sourced.
next to the production office
where the article will be sourced.
32. Click ![]() to save that production
office to the screen.
to save that production
office to the screen.
33. As required, complete/review the following fields:
|
Field Name |
R/O/C |
Description |
|
Vendor |
R |
The factory where the article will be sourced. Example: 36000810 |
![]() If necessary, use the
If necessary, use the ![]() button in the Primary Vendor field
to display a pop-up window to search for a vendor.
button in the Primary Vendor field
to display a pop-up window to search for a vendor.
34. Press the Enter key while the cursor is in the vendor field to copy the vendor value down across all variants.
35. As required, complete/review the following fields:
|
Field Name |
R/O/C |
Description |
|
Net Weight |
R |
The weight of the article without packaging. Example: .16 |
36. Click the ![]() in the Volume
field to open the Select Freight Class selection window.
in the Volume
field to open the Select Freight Class selection window.
|
|
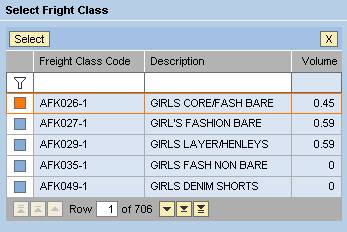
![]() Use this window to search for freight class
by typing in the Freight Class Code or Description. The arrows
at the bottom of the window allow you to scroll through the available choices.
Use this window to search for freight class
by typing in the Freight Class Code or Description. The arrows
at the bottom of the window allow you to scroll through the available choices.
37. As required, complete/review the following fields:
|
Field Name |
R/O/C |
Description |
|
Freight Class Code |
R |
Freight Class Code Example: VSSBR113 |
38. Click ![]() next to the desired
freight class code.
next to the desired
freight class code.
39. Click ![]() to write the chosen
value back to the data entry screen.
to write the chosen
value back to the data entry screen.
40. Click ![]() in
the Is There a Buying Royalty field.
in
the Is There a Buying Royalty field.
|
|
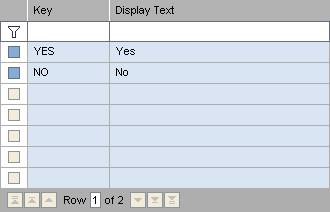
41. Click ![]() to choose either Yes or No.
to choose either Yes or No.
42. Click ![]() in the Is Royalty Dutiable
field.
in the Is Royalty Dutiable
field.
43. As required, complete/review the following fields:
|
Field Name |
R/O/C |
Description |
|
Buying Royalty Rate |
R |
Buying Royalty Rate. Example: .75 |
44. Click ![]() in the Royalty $ Value
or Percent per Unit.
in the Royalty $ Value
or Percent per Unit.
|
|
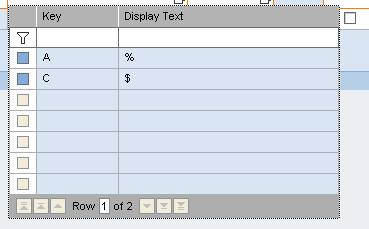
45. Click ![]() to make the appropriate selection.
to make the appropriate selection.
46. Click ![]() in the Royalty Vendor
field.
in the Royalty Vendor
field.
|
|
47. Click ![]() to make the appropriate
selection.
to make the appropriate
selection.
48. As required, complete/review the following fields:
|
Field Name |
R/O/C |
Description |
|
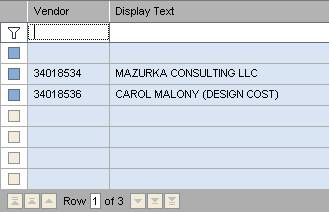
Royalty Vendor |
R |
Royalty Vendor where the article is sourced from. Example: 34018534 |
49. Click ![]() to select all applicable Complete
check boxes.
to select all applicable Complete
check boxes.
![]() Select the Complete
Select the Complete ![]() check box of those variant articles that
are ready to submit to QA/QC for approval.
check box of those variant articles that
are ready to submit to QA/QC for approval.
50. Click ![]() to submit the articles selected in
the previous step.
to submit the articles selected in
the previous step.
51. This activity is now complete.
The article or articles have now been submitted to QA / QC for review.
Comments
None